


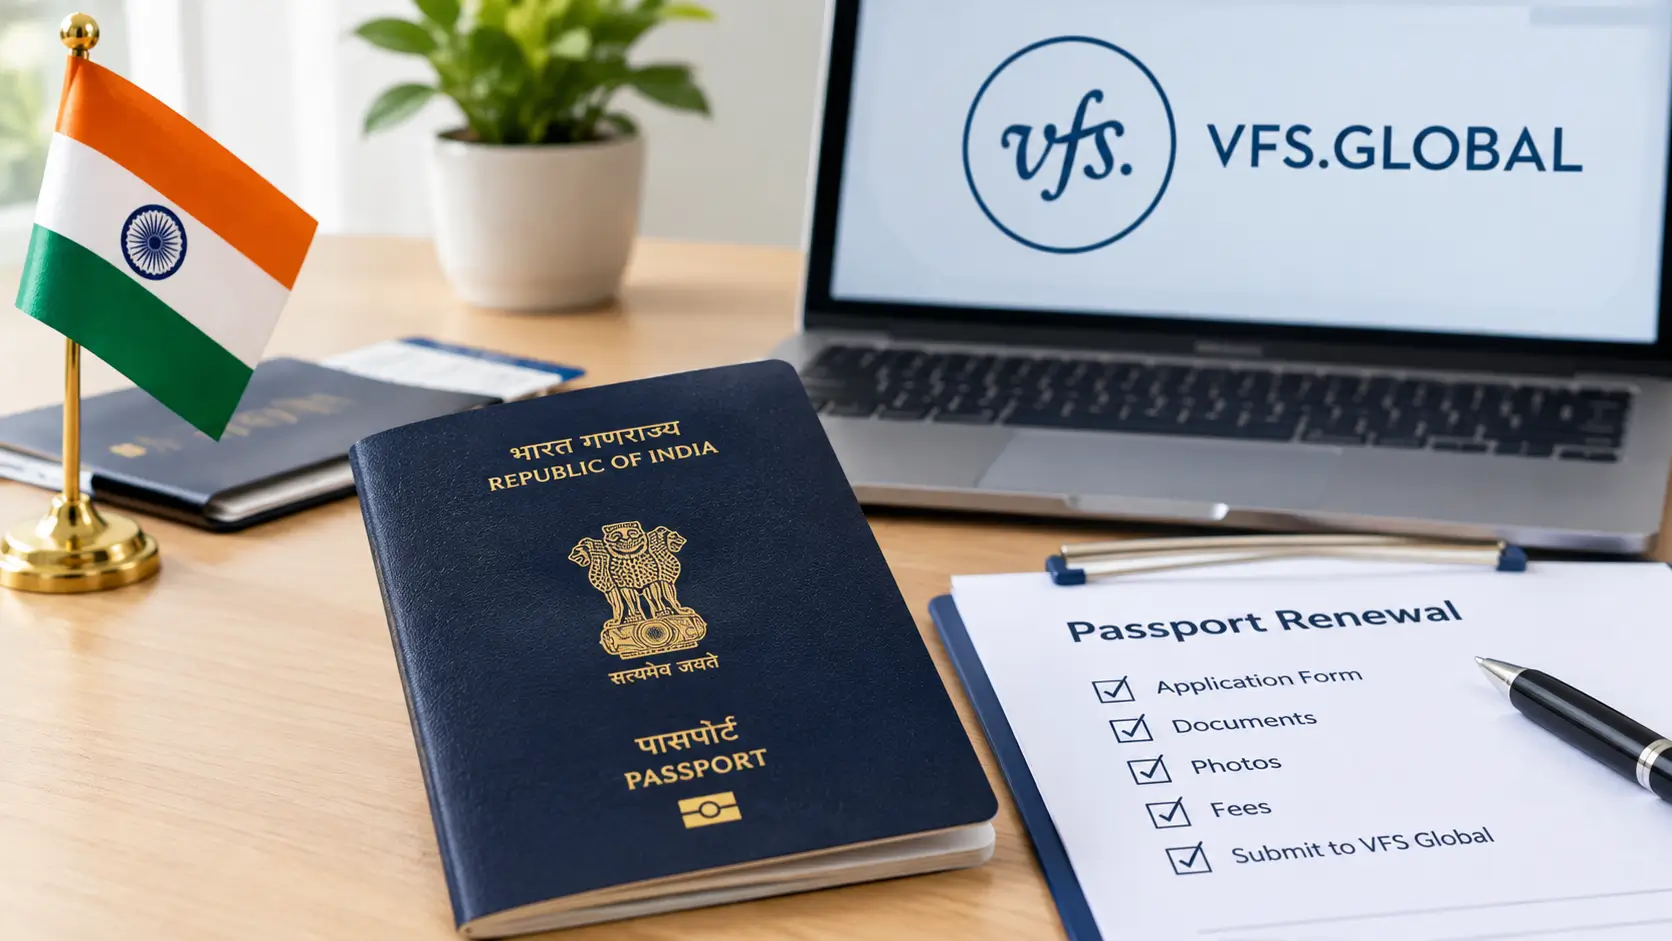
An Indian passport is an important ID for Indian citizens in the U.S., used for travel and official business. Since passports expire, you should start preparing for renewal before the expiration date. If you live in the U.S., you can renew your Indian passport through VFS Global, the company that manages these submissions. You will need to fill out an online form on the government website, collect your documents, pay the fees, and send everything through VFS. The process may seem confusing at first, especially if you are renewing your passport from abroad for the first time.
What Is VFS Global?
VFS Global provides application-handling services for various government organizations. For Indian passport services in the United States, it operates Indian Consular Application Centers and helps applicants submit their documents. VFS Global does not independently decide whether to issue your Indian passport. The relevant Indian Embassy or Consulate handles the official passport decision.
You can start by visiting the official VFS Global India passport services website for the USA. This website provides information about application forms, document checklists, fees, submission methods, and application tracking.
When Should You Renew Your Indian Passport?
You should check your passport’s expiration date before planning international travel. Some destinations require travelers to hold passports that remain valid for several months beyond their arrival or departure dates.
You may also need to renew your passport if you have used all its available pages or need to report certain changes to your personal information.
Common reasons for passport reissuance include:
- Your passport has expired or is about to expire.
- Your passport has no available visa pages.
- You need to update eligible personal details.
- You need to report a change in your appearance or other information.
- Your passport has been damaged or lost.
The required process and supporting documents can differ depending on your situation. For example, an ordinary renewal may require different documents from an application involving a lost or a name change.
Step-by-Step Indian Passport Renewal Process via VFS Global
Step 1: Visit the Official VFS Global Website
Open the official VFS Global website for Indian passport services in the United States. Review the passport service information and select the category that matches your situation. Read the relevant document checklist carefully before filling out any forms. You must also check which Indian Consulate covers your home address. The U.S. has multiple Indian Consular Application Centers, and where you live determines your correct region.
Step 2: Complete the Government Passport Application
After reviewing the VFS instructions, complete the passport application through the official Government of India passport portal linked from the VFS website. Enter your personal details carefully. These may include your full name, date of birth, current passport number, Indian address, US address, and contact information. Check every entry before submitting the form. Your information must match your current passport and supporting documents unless you are requesting an approved change and have the right proof. Pay particular attention to the spelling of your name and your date of birth.
Step 3: Download the Required Documents Checklist
Make sure to download the exact checklist for your specific situation directly from VFS Global. Do not rely on general lists from other websites, as requirements can vary. The required documents commonly include:
- A completed government passport application form.
- Your current original Indian passport.
- Copies of the specified pages of your current passport.
- Recent passport photographs that meet the official specifications.
- The completed and signed VFS document checklist.
- Proof of address and other supporting documents, when required.
- Application confirmation and payment or courier documents, as instructed.
Additional documents may apply if you want to change your name, update your address, report a lost passport, or apply for a minor.
Step 4: Prepare Your Passport Photographs
Passport photographs are an important part of your application. A photograph that does not meet the required specifications may cause VFS to return your application. Check the latest photograph instructions on the official website before visiting a photo studio. Follow the required size, background, lighting, and appearance guidelines.
Make sure your photograph looks like you today and meets the rules for your application category. Do not rely on the photo requirements for a US passport because Indian passport applications may follow different specifications. If the checklist requires printed photographs, include the correct number and attach them exactly as instructed.
Step 5: Create Your VFS Profile and Complete the Submission Steps
After completing the government application, return to the VFS Global website and follow the instructions for your passport category. You may need to complete a VFS questionnaire, create or access your profile, enter your application details, and pay the applicable charges.
VFS instructions will explain whether you should mail your application or book an appointment at a designated center. The available submission method can depend on your service category and jurisdiction. Read the instructions carefully before proceeding. Save payment confirmations, application receipts, and any courier labels or appointment documents that the website asks you to provide.
Step 6: Pay the Applicable Passport and Service Fees
Passport renewal costs depend on the application category, booklet type, and service selected. Applicants may need to pay government passport fees, VFS service charges, and other applicable fees.
Check the latest fee table on the official VFS website before making payment. Avoid relying on old blog posts because fees and service arrangements can change. Also, confirm the accepted payment methods. The payment instructions may differ depending on the service and submission method.
Step 7: Submit Your Application
Once you finish your forms and gather your papers, send in your application based on the rules for your type. If you need an appointment, bring your papers and confirmation letter with you. If you need to mail it, use the correct address and follow all packing and shipping rules. Keep copies of your application and shipping details. These records can help you check delivery and resolve questions about your submission.
Step 8: Track Your Passport Application
After submission, use the tracking instructions provided by VFS Global to check your application’s progress. The application may pass through several stages, including receipt of your documents, review by the relevant Indian Consulate, processing, and return delivery.
Tracking updates do not necessarily mean that the passport has been approved or issued. The final decision belongs to the relevant Indian authority. If VFS requests additional documents, respond according to the instructions and deadline provided. Missing information can delay processing.
Step 9: Receive Your Renewed Indian Passport
Once the authorities complete processing and issue your passport, follow the return-delivery instructions associated with your application. When your new passport arrives, check your name, date of birth, passport number, and other printed details. Contact the appropriate authority promptly if you notice an error.
Keep your old passport and follow the instructions you receive about its return or handling. Do not assume that a visa in an old passport automatically transfers to your new one. Check the rules of the country that issued the visa before traveling.
Common Mistakes to Avoid During Passport Renewal
Small mistakes can cause delays or get your application sent back. You can lower this risk by checking your papers before you send them.
- Using the Wrong Consular Jurisdiction: Always select the Indian Consulate that serves your residential address. Do not choose a center simply because it is closer to your home.
- Submitting Incomplete Documents: Read the checklist for your exact application category. Include every required document and any additional evidence that applies to your case.
- Entering Incorrect Personal Details: Review your name, date of birth, passport number, and addresses before submitting the government form. If you need to correct information, follow the official instructions rather than assuming you can edit a submitted form.
- Ignoring Photograph Requirements: Use the current specifications published for Indian passport applications. A photograph that meets another country’s passport rules may not meet India’s requirements.
- Waiting Until the Last Minute: Start the renewal process well before your planned travel date. This gives you more time to handle document requests, shipping delays, or processing issues.
Conclusion
Renewing an Indian passport through VFS Global in the United States becomes easier when you follow the correct steps. Start by checking the official website and confirming your consular jurisdiction. Complete the government application, prepare the required documents, review the photograph specifications, pay the applicable fees, and submit your application as instructed. Keep your receipts and tracking numbers until your new passport gets to you. Always check the newest rules before you apply, since fees, papers, and steps can change. Checking everything closely before you send it in helps you avoid simple mistakes and makes the renewal much easier.
