


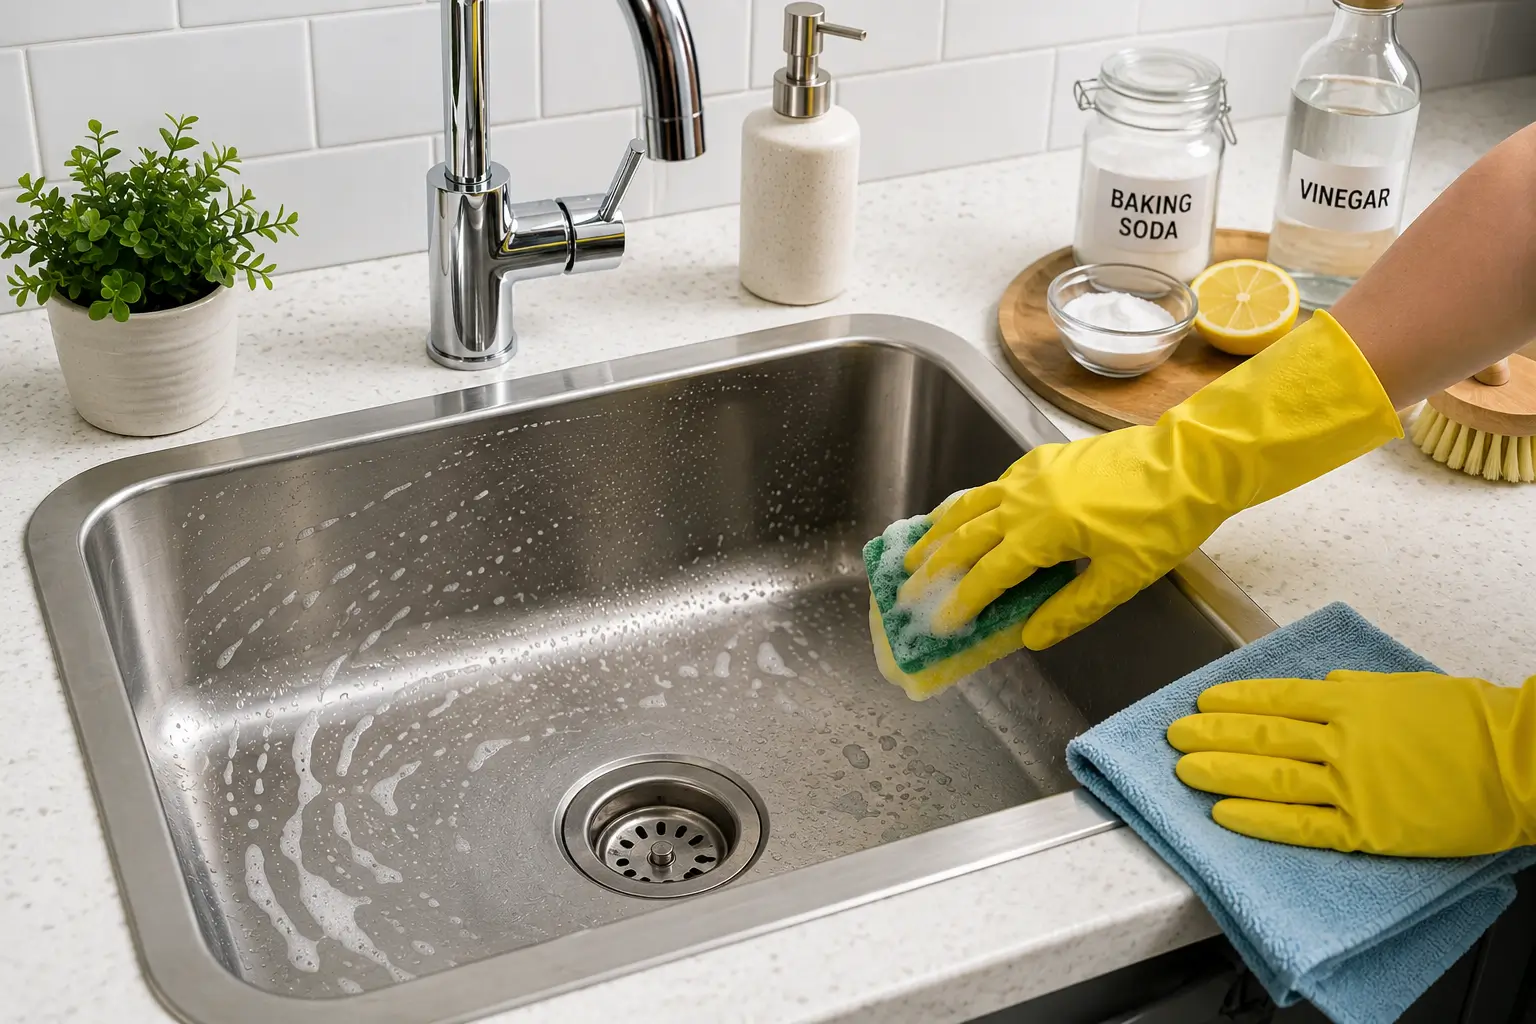
A kitchen sink deals with a lot every day. Food scraps, grease, tea stains, hard water marks, soap residue, and dirty dishes all pass through it. Even when you rinse the sink regularly, a dull layer of grime can slowly build up around the edges, faucet, and drain.
The good news is that you do not need a cupboard full of expensive cleaning products to get your sink looking fresh again. If you are wondering how to clean a kitchen sink, the easiest approach starts with knowing what your sink is made of and then using gentle cleaning methods that match the material.
For everyday cleaning, warm water mixed with dish soap, a bit of baking soda, and a soft sponge are all you need to clear away most grime and keep surfaces clean. Let’s look at a simple method you can use at home.
How Often Should You Clean a Kitchen Sink?
You should give your kitchen sink a quick clean regularly, especially after heavy cooking or when food residue remains on the surface. A deeper cleaning once a week can help control buildup. It is recommended to deep clean a kitchen sink about once a week, along with lighter cleaning after regular or heavy use.
You do not need to spend 30 minutes scrubbing every day. A quick rinse, wipe, and dry after washing dishes can prevent many stubborn stains from developing in the first place. Think about your sink like your kitchen counter. You would not leave spilled curry, oil, or food scraps sitting there for several days. Your sink deserves the same attention.
What You Need to Clean Your Kitchen Sink
You can keep the cleaning routine simple. In most cases, you will need warm water, liquid dish soap, baking soda, a soft sponge, and a microfiber cloth.
A small cleaning brush or old soft toothbrush can also help you reach around the faucet base, drain opening, and other tight spaces. It is also recommended to use a small brush for hard-to-reach areas and to replace dirty or smelly sponges. Before using any cleaner, check the manufacturer’s care instructions for your kitchen sink. Different materials can react differently to cleaning products.
How to Clean a Kitchen Sink Step by Step
The basic process works well for many common kitchen sinks, especially stainless steel and some white sinks.
Step 1: Empty the Kitchen Sink Completely
Start by removing dishes, food scraps, sponges, strainers, and anything else sitting inside the sink. Do not begin scrubbing around plates and cups. Emptying the sink gives you access to the entire surface and lets you notice areas that need extra attention. Remove visible food debris and rinse the sink with warm water. If you have a sink strainer, take it out and clean it separately. Food particles often collect underneath it and can contribute to unpleasant smells.
Step 2: Apply Dish Soap
Try to apply a small amount of dish soap to a damp sponge to lift away stubborn grease gently. Mild dish soap remains a top-recommended, non-abrasive solution for cleaning stainless steel sinks. Start around the sides and work toward the bottom of the sink. Do not forget the corners. Grime often hides where the sink meets the countertop.
Step 3: Use Baking Soda for Stubborn Grime
If your sink still looks dull or has stuck-on residue, sprinkle a light layer of baking soda over the damp surface. Baking soda provides mild abrasive action, which can help lift grime without the harsh scrubbing that some stronger abrasives require. Use a soft, damp sponge and gently scrub the surface. If you have a stainless steel sink, follow the direction of the metal grain instead of scrubbing randomly in circles. Let the cleaner and sponge do most of the work.
Step 4: Rinse Thoroughly
Once you finish scrubbing, rinse the entire kitchen sink with clean water. Pay particular attention to the corners and the area around the drain. Leftover baking soda or soap can leave a cloudy residue if you allow it to dry. Run enough water to remove the cleaning residue completely.
Step 5: Dry the Kitchen Sink
This step takes only a few seconds, but it can make a noticeable difference. Wipe the sink, faucet, and edges dry with a clean microfiber cloth. Drying prevents leftover water drops from leaving chalky spots.
How to Clean a Stainless Steel Kitchen Sink
These sinks can handle everyday kitchen use thats the reason these are very popular. But they can also quickly show water spots, fingerprints, and scratches. The safest approach involves gentle cleaning.
Start with dish soap and warm water. If you need more cleaning power, use baking soda with a soft cloth or sponge. Avoid steel wool and harsh abrasive tools because they can scratch the finish. Strong chemicals such as bleach can also damage stainless steel. Once you finish, rinse and dry the sink completely.
How to Get Rid of Water Stains on Stainless Steel
Hard water can leave white or cloudy marks on a stainless steel sink. On appropriate stainless steel surfaces, a diluted white vinegar solution can help with mineral accumulation. Cleanipedia recommends a diluted vinegar solution for stainless steel and advises rinsing and drying the surface afterward.
However, check your sink manufacturer’s instructions before using vinegar. Acidic cleaners can damage certain materials and finishes. Never mix vinegar with bleach or other incompatible cleaning chemicals. Mixing bleach with acids such as vinegar can create dangerous chlorine gas.
How to Wash a Ceramic or Porcelain Sink
White porcelain sinks can look beautiful when clean, but stains and marks can become obvious very quickly. Wash the sink with warm water, mild dish soap, and a soft sponge to remove daily grime. For tougher stains, use a gentle baking soda paste.
Avoid aggressive scrubbing with rough pads. Porcelain may look tough, but its finish can still suffer from scratches, chips, or discoloration. If your porcelain sink has a special finish, follow the manufacturer’s instructions before trying vinegar, bleach, or another strong cleaner.
How to Clean a Kitchen Sink Drain
Cleaning the basin but ignoring the drain can leave you with a clean-looking sink that still smells bad. Food particles, grease, and other residue can collect inside the drain over time. A dirty drain can also contribute to unpleasant odors and, in some cases, attract drain flies.
For a basic maintenance routine, first run hot tap water down the drain. You can then use baking soda and white vinegar as a cleaning method if your plumbing and sink manufacturer allow it. Using baking soda followed by white vinegar, allow the mixture to sit briefly, and then flush with hot water.
Remember that this method helps with buildup and odors. It is not a guaranteed solution for a serious blockage. If water continues to drain slowly after basic cleaning, you may need a plunger or professional plumbing help rather than repeatedly adding household ingredients.
How to Remove Bad Smells From a Kitchen Sink
A bad smell usually means something needs attention around the drain, garbage disposal, or food strainer. Start by cleaning the sink itself. Then remove and wash the strainer if you have one.
If you have a garbage disposal, follow its manufacturer’s cleaning instructions. Do not put your hands inside the disposal opening. For a regular drain, cleaning the drain and flushing it properly can help remove odor-causing residue. Regular maintenance also helps prevent food and grease from sitting inside the plumbing.
If the smell keeps returning even after cleaning, do not simply cover it with air freshener. A persistent odor may point to a plumbing or drainage problem that needs further inspection.
How to Clean Around the Faucet
The area around the faucet often gets overlooked. Water, soap, and food residue can collect where the faucet meets the sink. Hard water can also leave mineral deposits around the base. Use a soft cloth with warm water and a little dish soap to wipe the faucet and surrounding area.
For stubborn mineral deposits, use only a cleaner that the faucet manufacturer approves. Some faucet finishes can react badly to acidic or abrasive products. After cleaning, wipe the area dry. A small soft toothbrush can help reach narrow gaps around the faucet base without using a rough scrubber.
Cleaning a Kitchen Sink with Baking Soda and Vinegar
- How They Work Separately: Baking soda gently scrubs away surface stains, while acidic vinegar dissolves hard-water spots and grime.
- The Fizzing Myth: When baking soda and vinegar mix, they fizz, but combining them neutralizes both ingredients and lowers their cleaning power.
- Best Practices: For tough stains or smelly drains, use baking soda and vinegar one at a time. Warm water and simple dish soap work best for everyday sink cleaning.
- Safety Warning: Never mix vinegar (or any acid) with bleach, as this combination releases toxic gas.
How to Clean a Kitchen Sink of Grease
Here is a simplified summary of the steps for removing grease from your sink:
- Wash: Try to use warm water and mild dish soap on a soft sponge to easily clean grease off your sink.
- Scrub: For tough, sticky residue, sprinkle a little baking soda on the area and scrub gently with your wet sponge.
- Rinse: Wash away all remaining soap and baking soda with warm water.
- Take Your Time: Skip harsh chemical cleaners—giving simple, gentle products a moment to work with the right scrubbing action usually gets the job done safely.
How to Keep Your Kitchen Sink Clean Longer
Deep cleaning becomes much easier when you prevent buildup. After washing dishes, rinse food particles from the sink. Do not leave coffee grounds, rice, vegetable scraps, or greasy residue sitting near the drain.
Wipe the sink with a sponge and a small amount of dish soap when needed. Then rinse it and dry the surface. This routine takes only a few minutes. A weekly deeper clean can then focus on stains, the drain, faucet area, and places that you normally overlook. It is recommended to do a weekly deep-cleaning routine along with lighter cleaning during regular use.
A Simple Kitchen Sink Cleaning Routine
If you want to keep things easy, follow a basic routine.
- Every day: Remove food debris, rinse the sink, and wipe away obvious grease or residue.
- Once a week: Deep clean the sink using dish soap and water, adding baking soda if it is safe for the material. Scrub around the faucet and drain, then rinse and dry everything thoroughly.
- When needed: Deal with stains, hard water marks, odors or slow drainage instead of allowing the problem to build for weeks.
This approach takes less effort than waiting until the sink becomes heavily stained and then trying to fix everything in one afternoon.
Summary
Learning how to clean a kitchen sink does not require a complicated routine. Do not forget the drain, faucet, and corners. If you have stainless steel, follow the grain and avoid abrasive tools. If you have porcelain or another specialty material, check the manufacturer’s care instructions before using acidic cleaners or strong chemicals.
Most importantly, clean your sink regularly instead of waiting for heavy buildup. A few minutes of simple maintenance can keep your kitchen sink looking fresh, reduce unpleasant odors, and save you from a much harder cleaning job later.
